How to Do the Waving Dance: Beginner Arm Wave Tutorial
TL;DR
- The waving dance creates the illusion that liquid or electricity is traveling through your arms or body.
- A clean arm wave depends on isolation. Move one joint at a time while the rest of the arm holds its position.
- For the outward drill, move through the shoulder, elbow, wrist, and hand in that order.
- Practice the positions slowly before adding music or trying to make the wave faster.
- Film yourself. A wave can feel correct while looking very different from what you imagined.
The waving dance is an illusion built through timing and isolation. You are trying to make your arm or body look like liquid, or like electricity is flowing through it, even though your joints are moving one section at a time.
That smooth effect takes more work than it appears to. I spent a very long time developing my waving. When someone makes it look easy, you may be seeing the result of months or years of consistent isolation practice.
What is the waving dance?
The waving dance is an illusionary style in which controlled movements pass sequentially through the joints, creating the appearance of one continuous wave.
An arm wave can travel from one hand, across the arms and chest, and out through the other hand. A body wave can travel through the head, chest, hips, knees, and other parts of the body. The path can change, but the central idea remains the same: only the intended section should lead at each moment.
The Smithsonian describes body waves and isolated body-part movements as part of African American social and exhibition dance vocabulary. In waving, those isolations are connected so the audience sees a traveling effect instead of separate poses.
You can find waving alongside other funk styles, but its smooth illusion gives it a quality of its own.
Is waving the same as popping?
No. Waving and popping are often combined, but they are not the same technique.
Popping uses a quick contraction and release of the muscles to produce a visible hit. Waving uses sequential joint isolations to create a continuous traveling illusion. One can look sharp and percussive while the other can look fluid, but a dancer may use both in the same freestyle.
Popin’ Pete makes this distinction clearly in a practitioner interview. He explains that waving, popping, tutting, ticking, strutting, and boogaloo have been grouped under the word “popping,” even though they are different styles with different histories and communities.
If you want to study the contraction-and-release technique separately, begin with these popping fundamentals.
Where did the waving dance come from?
Waving developed through Black West Coast funk-dance communities, but the available history does not support naming one person as its uncontested inventor.
The Library of Congress explains that late-20th-century boogaloo traditions evolved into forms that include robotting, strutting, waving, and ticking. Research published by the University of Michigan Press also documents the California dance history created by Black youth developing boogaloo, robotting, popping, locking, strutting, and related forms during the funk and disco era.
Boogaloo Sam and the Electric Boogaloos were highly influential in spreading West Coast funk styles. A New York Public Library dance archive records Toni Basil discussing Boogaloo Sam, the Electric Boogaloos, Soul Train, and the appearance of popping in the late 1970s and early 1980s.
That influence matters, but influence is not the same as sole invention. The most accurate answer to “Who invented waving?” is that no single originator is reliably documented. Many dancers and communities contributed to its development and growth.
What does Popin’ Pete’s waving demonstration show?
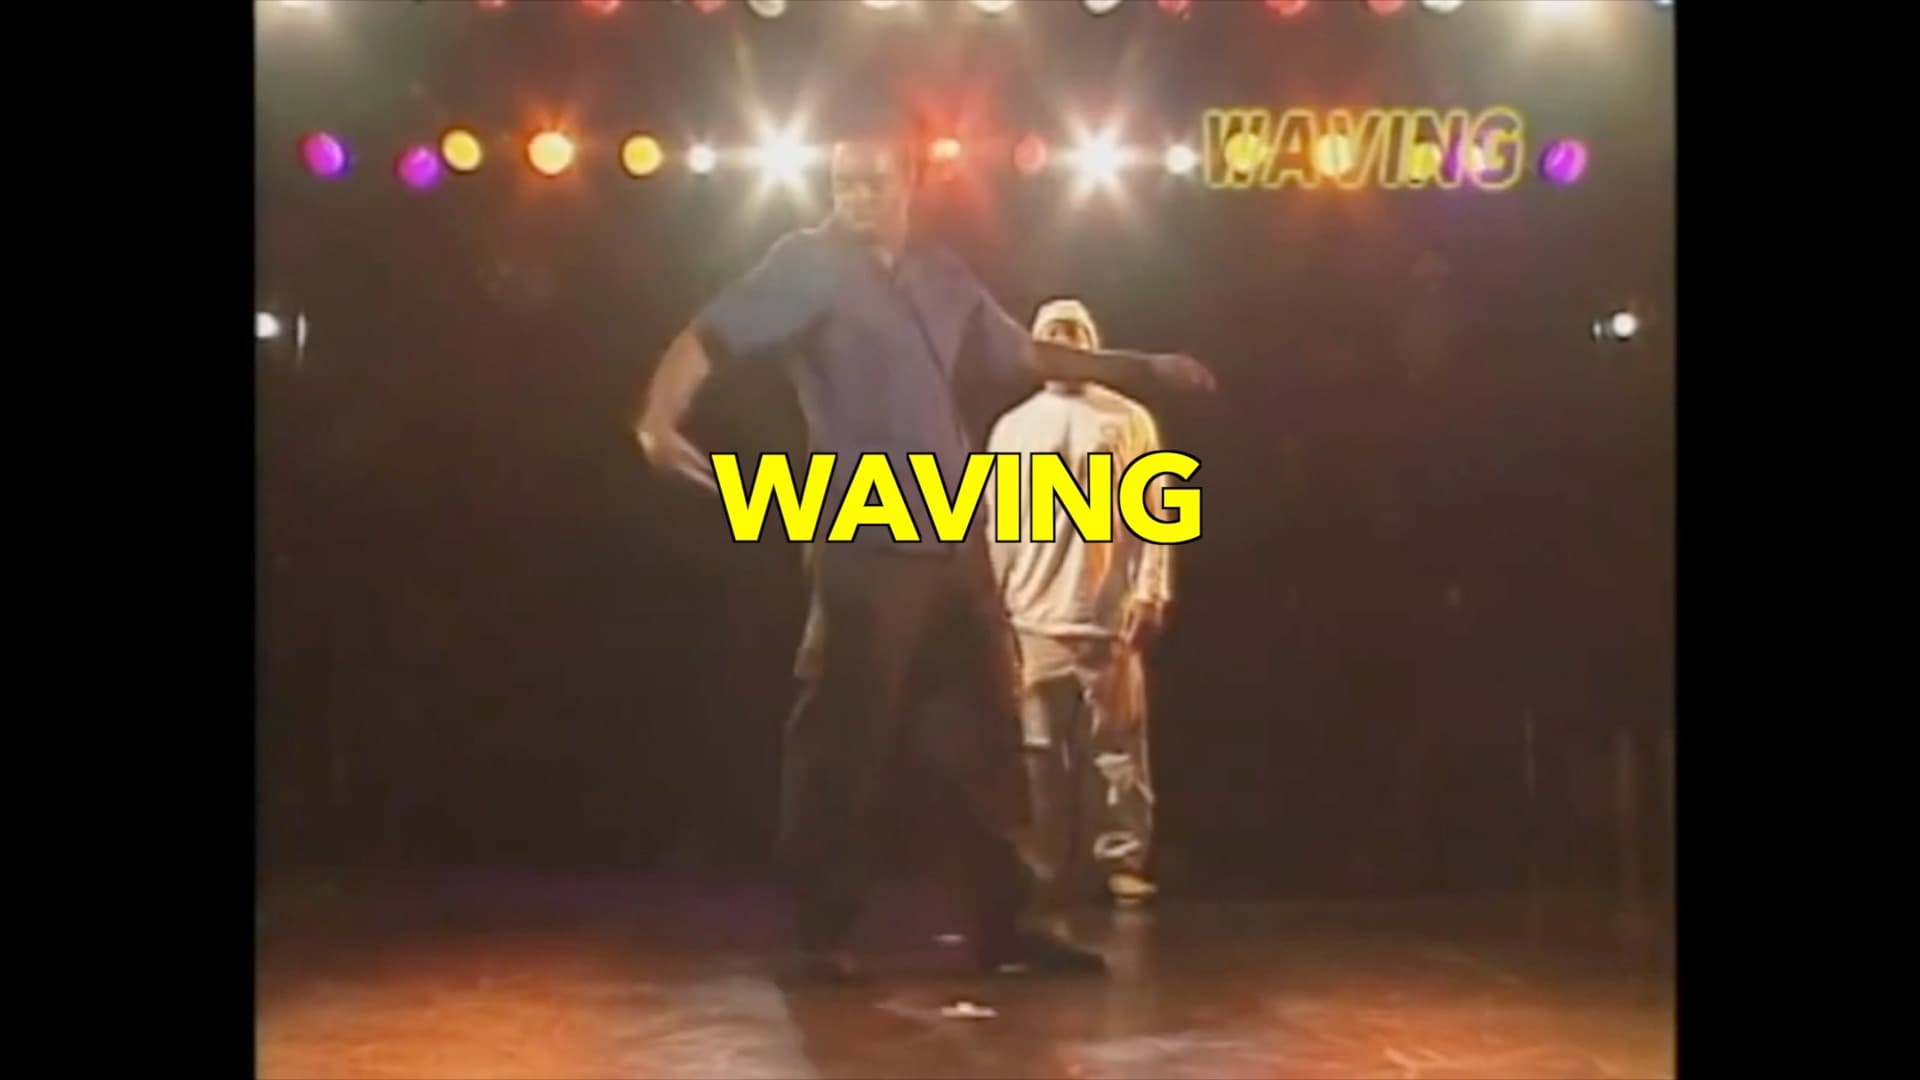
Popin’ Pete’s demonstration shows how an experienced dancer can send a smooth wave through the arms and body while changing its direction, level, and size.
Do not try to copy every variation immediately. First, watch where the wave appears to begin, which joint carries it next, and which parts of the body remain controlled around it. The demonstration gives you the finished visual reference. My tutorial below gives you a drill for building that control one joint at a time.
How do you do the waving dance?
To begin the waving dance, move one joint out of position at a time while keeping the rest of the arm as still as possible. Start slowly and learn the outward pathway before attempting a complete wave in both directions.
The drill below follows the method I teach in my arm-wave tutorial.
1. Establish your starting position
Let your arms hang naturally with your hands relaxed. Notice the angle and position of the arm before you move.
Your starting position gives the viewer a visual baseline. If the entire arm drifts while the wave travels, the audience sees general arm movement instead of a controlled illusion.
2. Raise one shoulder
Lift one shoulder while keeping the elbow, wrist, and hand in their original relationship. Do not swing the whole arm upward.
The shoulder is the first visible high point. Pause long enough to recognize that position before continuing.
3. Transfer the high point to the elbow
Lower the shoulder as the elbow moves outward and becomes the new high point. Keep the wrist and hand aimed in the same direction instead of letting them follow early.
Think of this as a transfer. The shoulder releases as the elbow takes over.
4. Transfer the high point to the wrist
Settle the elbow while lifting the wrist. Keep the hand controlled so the next section does not arrive before the wrist.
If the elbow and wrist rise together, you lose one stage of the illusion. Separate them first, even if the movement looks mechanical while you practice.
5. Finish through the hand
Lower the wrist and extend the remaining energy through the hand and fingers. The arm should finish in a clean line instead of collapsing at the end.
You can divide the hand and fingers into additional points later. For now, make the main shoulder-to-hand pathway clear.
6. Repeat on the other side
Practice the same sequence with the other arm: shoulder, elbow, wrist, and hand. One side will probably feel easier. Give the less coordinated side its own repetitions instead of letting the stronger side do all the work.
7. Change the arm angle gradually
Begin with the arms lower if that makes the isolations easier to control. Repeat the drill while gradually raising the arm toward shoulder height.
The pathway changes, but the rule does not. Maintain the arm’s line and move only the joint that is carrying the wave.
8. Connect the positions
Once each point is recognizable, reduce the pauses between them. Do not skip the positions. Let the transitions become shorter until the audience sees one wave traveling outward.
Smooth does not mean vague. The individual isolations still exist inside the connected motion.
Watch Ceech’s arm-wave tutorial
In this 15-minute lesson, I teach the wave from the inside out, beginning near the shoulder and traveling toward the hand. I focus on the outward wave first because returning the wave inward can be more difficult. Work on one direction until the positions are controlled, then build the return separately.
The lesson also shows the drill at several arm angles and tempos. Watch the position of the joints instead of copying only the speed.
Why doesn’t your arm wave look smooth?
Your arm wave usually looks unclear because too many sections move at once, the arm drifts away from its original line, or the next joint begins before the current joint finishes its job.
Beginners sometimes think smoothness means removing the isolations. It is the opposite. Clear isolations create the path, and accurate timing hides the handoff from one joint to the next.
Watch the parts that are not supposed to move. If the shoulder, elbow, wrist, and hand all rise together, there is no single high point for the eye to follow.
The starting and ending positions matter too. If you begin with the arm in one place and finish several inches higher or lower, the extra movement competes with the wave. Keep your position so the traveling illusion remains the main event.
How should you practice waving?
Practice waving by learning the positions without music, connecting them at a slow count, and adding music only after you can control the sequence.
Try this progression:
- Perform the four main positions slowly: shoulder, elbow, wrist, hand.
- Repeat the outward wave on one side until each position is easy to identify.
- Train the other side independently.
- Change the arm angle without changing the joint order.
- Count 1, 2, 3, 4, assigning one position to each count.
- Shorten the count as your control improves.
- Add music with a clear beat and keep the joint sequence connected to the rhythm.
- Practice the inward return as a separate skill before combining both directions.
You do not have to make the movement fast. Speed can hide missing positions. Slow practice shows you whether the isolation is actually under control.
For more structured isolation work, the free popping drills provide a self-directed 30-day schedule. They do not include personalized feedback or live coaching, but the exercises can help you practice controlling individual muscle groups.
Why should you record yourself practicing?
You should record yourself because the wave you feel and the wave an audience sees may not match.
This is the best waving practice tip I can give. Set your phone where your entire arm is visible, perform several slow waves, and watch the playback. Look for one question at a time: Did the whole arm drift? Did two joints rise together? Did the wave disappear at the wrist?
Research on video self-evaluation found that dancers could improve performance by reviewing skills broken into sequential, observable steps. Dance educators have also reported that immediate visual feedback helps students compare what a movement felt like with what it actually looked like.
Do not review the clip only to decide whether it looks “good” or “bad.” Identify one visible problem, practice that isolation, and record another attempt.
My experience learning waving
Waving took me a very, very long time to develop. It is an illusionary dance, and timing and isolation are extremely important. Someone who makes it look effortless has probably repeated those isolations far more times than the audience will ever see.
I learned by watching many dancers rather than tracing everything back to one teacher. I watched a lot of Mr. Wiggles and Pop N’ Taco from the Electric Boogaloos. I also studied my dance mate Jonathan “Bionic” Bayani and Tetsu from Japan. Today, great wavers can be found all over the world.
Watching different dancers helped me understand that the wave is not one frozen shape. Each person can change the pathway, speed, size, and character. The foundation still depends on control: one section leads, the movement travels, and the timing makes the illusion believable.
You can read more about my training and teaching history on Ceech’s background.
Common arm-wave corrections
| What you notice | Likely issue | What to practice |
|---|---|---|
| The whole arm rises | You are not isolating one joint | Hold the arm’s baseline and move only the current joint |
| The wave disappears at the elbow | The shoulder and elbow move together | Pause at the shoulder, release it, then raise the elbow |
| The wrist arrives too early | The hand is anticipating the movement | Keep the hand aimed down until the elbow settles |
| The wave looks choppy | The positions are clear but disconnected | Shorten the pause between points without skipping them |
| The wave looks vague | You are blending before controlling the positions | Return to four slow, separate counts |
| One side looks weaker | You always practice your preferred arm | Give each side its own repetitions |
| The arm ends in a different place | Extra movement is covering the illusion | Compare the starting and finishing lines on video |
The most useful correction is often the simplest: keep your position. Let the wave move through the arm instead of moving the entire arm around the wave.
Frequently Asked Questions About the Waving Dance
Who invented the waving dance?
No single inventor of waving is reliably documented. The form developed through Black West Coast funk-dance communities, with many dancers contributing to its vocabulary and spread.
What is an arm wave?
An arm wave is an illusion created by passing a high point through the joints of the arm in sequence. Common pathways include the fingers, wrist, elbow, shoulder, chest, and the same joints on the opposite side.
How long does it take to learn waving?
There is no reliable timetable for mastering waving. You may understand the basic sequence quickly, but making it look controlled and convincing can require months or years of consistent isolation practice.
Can beginners learn waving?
Yes. Beginners can start with a slow outward arm-wave drill. Concentrate on recognizing and controlling each position before worrying about full-body waves, speed, or advanced variations.
Should you practice waving with music?
Begin without music so you can concentrate on the joint positions. Once the sequence is controlled, use music and connect the transfers to a steady count and rhythm.
What is the most common arm-wave mistake?
The most common mistake is moving too many parts at once. The audience needs one clear point to follow as the wave travels through the arm.
What should you practice next?
After the outward arm wave is controlled, practice bringing it back toward the shoulder and connecting both arms through the chest. Add one new section at a time instead of trying to build a full-body wave immediately.
You can also study tutting technique. Tutting emphasizes clean angles rather than a liquid pathway, but both styles train precise arm placement and joint control.
The goal is not to rush through more moves. Make one pathway clear, record it, correct what you see, and repeat. That patient isolation work is what eventually makes the wave look effortless.
More Popping & Funk articles
Train 1-on-1 with Ceech.
Get personalized coaching tailored to your style and goals.
Book a Free Consult